When you need to backup files, you have two options: manually or automatically.
Manually: You just copy file(s) or folder(s) to a second location on a USB, external HDD, upload it to FTP, email etc.
Automatically: Using a software that allows you to perform: faster backups, schedule backups, save profiles so that you don`t have to repeat the same steps etc.
Most of the tools that I`ve tested were: complicated, expensive, large, way too many options and so on. Finally, I`ve discovered the tiny, portable, free, open-source and most important: easy-to-use backup tool: Create Synchronicity.
I don`t want to waste your time with another Create Synchronicity review. Consider this a quick guide, an introduction to what I consider the most easy-to-use backup software for Windows. You can obtain the latest version from Create Synchronicity homepage. I forgot to mention that you can download the portable version or the traditional installer. In this example, I will use the installer. So here I am, I`ve downloaded the latest version, installed the application and started for the first time:
Note: When you will install this program, it doesn`t create a desktop shortcut ( you can create one yourself - after installation ).
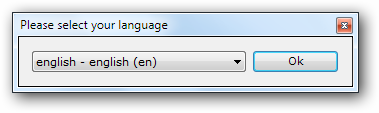
When you open the program for the first time, it will ask you to select your language. Choose English or another.
The second window named ``First Run`` is just a welcome window. As you can see it will require your confirmation for future updates on startup. I usually select ``YES`` as I would like to be informed when a new version is being released.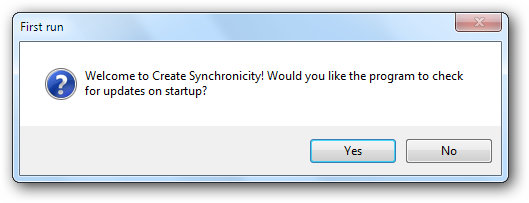
Here it is, Create Synchronicity interface running for the first time. It looks clean and easy to use.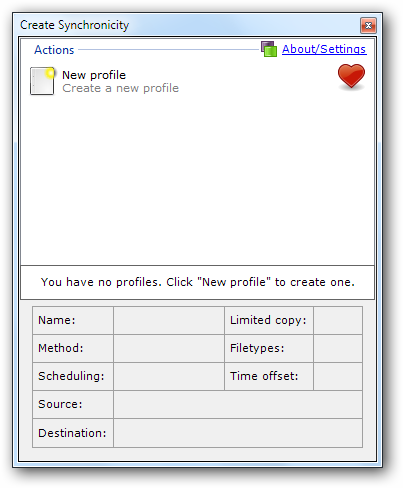
First thing to do: we need to create a new profile. We can create a lot of profiles but in this example I will show you how to create and backup files using Create Synchronicity for one profile. Go to ``New Profile``, perform a right-click and select a name in order to rename this profile - I will rename this to ``Backup Pics - Europe`` because I would like to save a couple of folders that contains pics to an USB stick.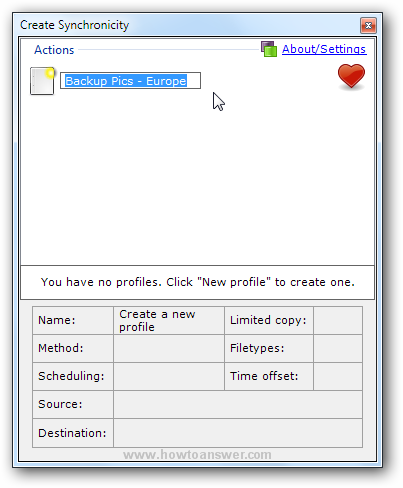
Don`t get scared, once you do this, a new, larger window will open. The main small window is still running but it`s the larger window that took its place. It looks like this: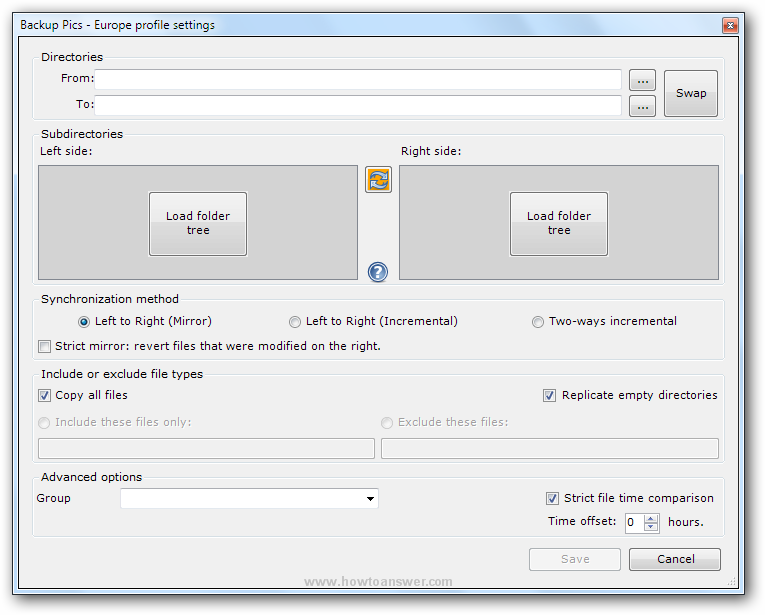
In this window, go to first option named ``From:`` select ``...`` button, click on it, navigate across your computer and select the files that you want to backup. Then, go to second option named ``To:``, go to the same button as you did before and select the place where you want to create the backup. In this example I will select the folder that contains my pictures located on partition B: and I will create a backup of them on my USB stick E: - it looks like this, take a look at the path of the files:
You may want to choose ``Two-ways Incremental`` as this option will copy all files both ways, without deleting any. New and modified files are copied both ways, nothing is deleted. It is a safer approach.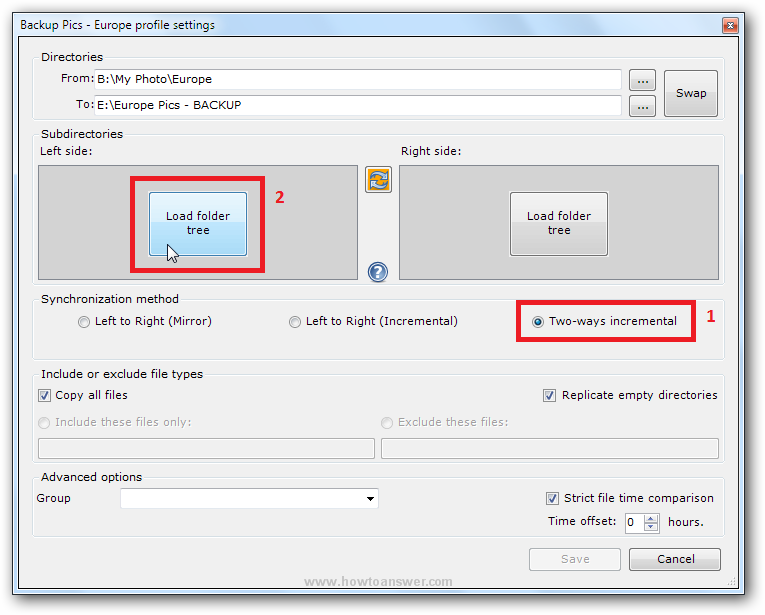
We`re almost ready, check all the settings once again and when you`re ready click on ``Save`` button and this profile will be saved.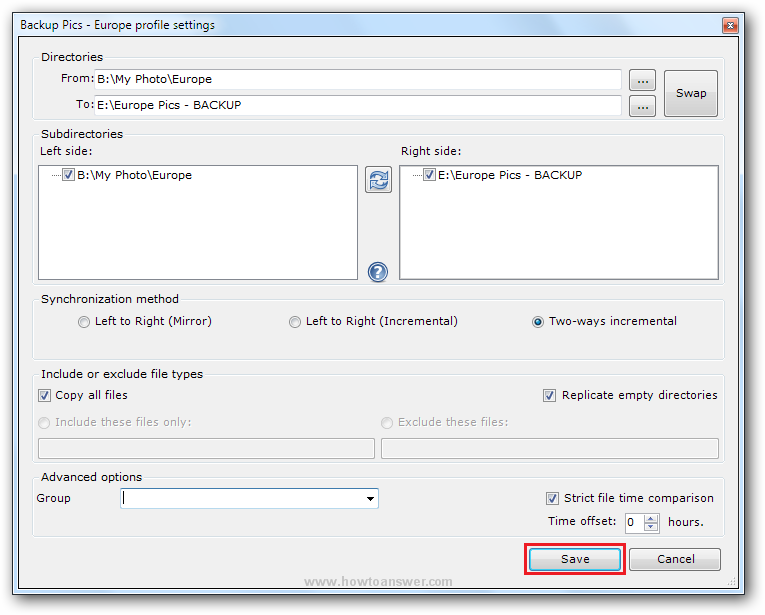
You`re back at the main software interface. That`s how you add a profile using this program. Also, when you click on the profile you can view all his settings and you can edit them if you would like to change something.
Note: To change an existing profile, perform a right-click choose ``Change Settings``, a new window will open and you can modify or change the existing settings.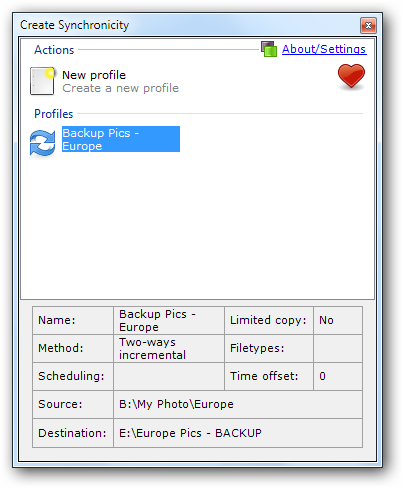
There is one thing left: to create a backup. In order to be able to do that, choose the desired profile, perform a right-click and select ``Synchronize``.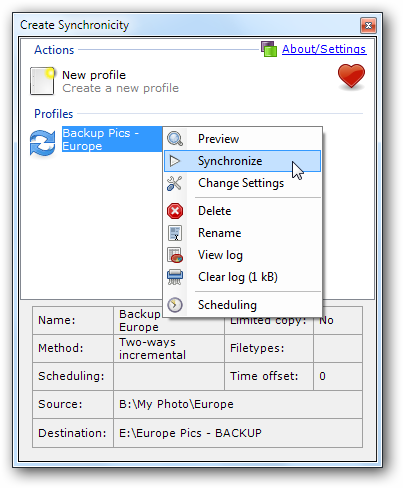
Once you do that, the backup process will start. Depending on several factors such as selected files, speed of USB port, USB device it will take from a couple of seconds to minutes or even hours if you plan to backup huge files.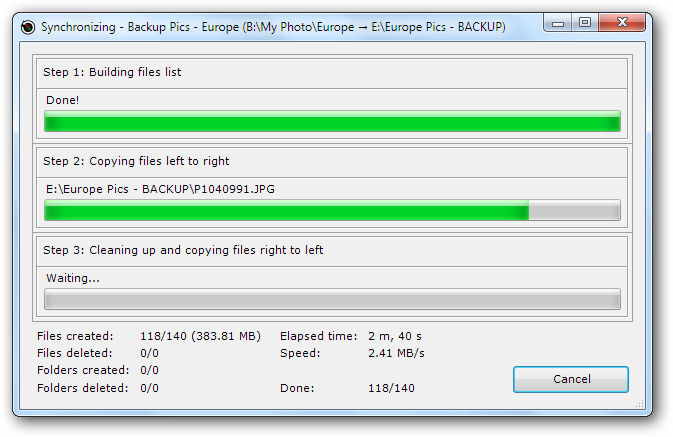
In this example, the entire process took me 3 minutes and 8 seconds for 464 MB at a 2.46 MB/s transfer speed - not bad at all.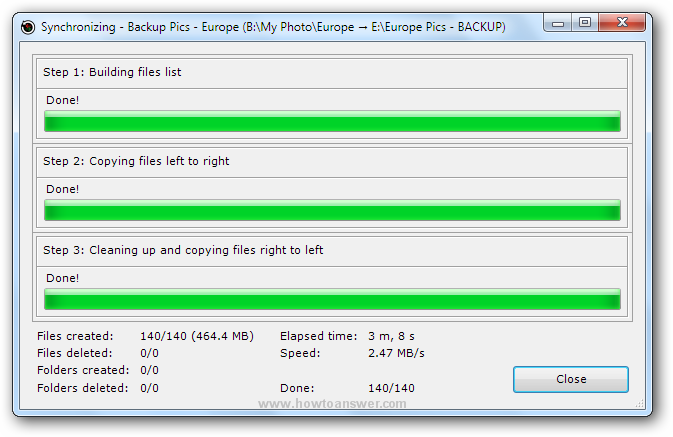
That`s how you can backup all kind of files using Create Synchronicity. Still, one of the most useful features is ``Scheduling``. If you have an important folder that you would like to backup regularly - use this feature and you`re on automated pilot. Here`s how to do it: go back to main software interface, choose profile, right-click on it and select the last feature named ``Scheduling``.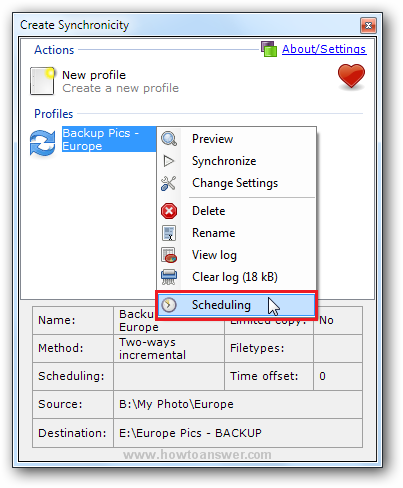
Once you do this, there is a warning message: ``To enable scheduling, Create Synchronicity has to register as a startup program. The synchronization will not happen if you disable its automated startup, or if your session is closed at the scheduled time.``
Make sure that you check: ``Enable scheduling for this profile``, the hour when you want to perform the backup and additionally you may also want to check ``Catch up missed backups``. Click ``Save`` and that`s it. As I said, you have automated the backup process - this tiny application will save your files.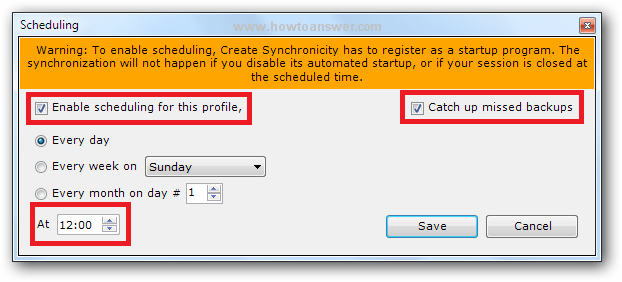
I`ve highlighted only a couple of his features but this software can do a lot of other things. For a complete reference you may want to check Create Synchronicity help section.